 |
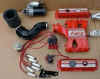
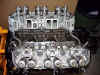
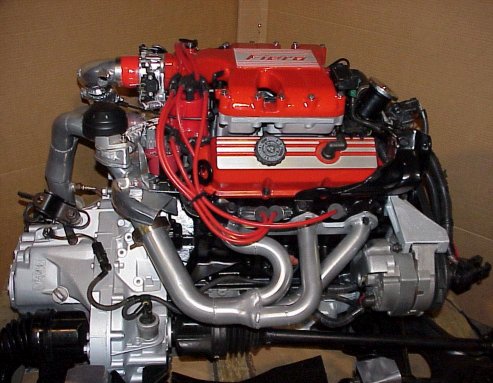
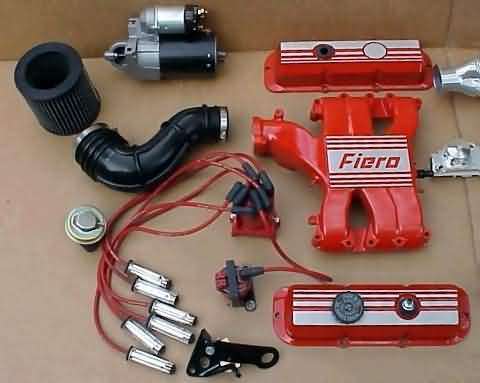
Engine's
upperend components. Plenum and Valve Covers have been
stripped and repainted. Bright red Taylor plug wires are a
good replacement for the original red GM wires (no longer
available). Bright red Holley coil and red distributor cap
complement the engine parts. K&N filter and new starter await
installation.
View websites for Holley
coil, K&N
Filters and Taylor
Wires. |
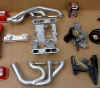 |
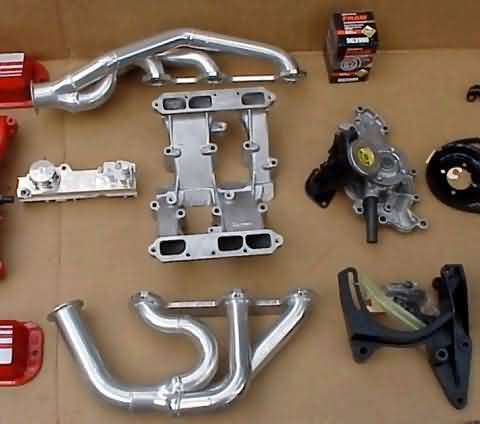
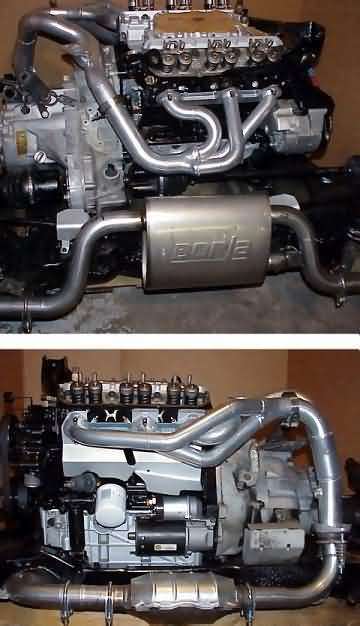
FOCOA
headers and Y-pipe are ceramic coated. This has two
purposes-
- it keeps the engine bay cooler as engine heat transfer is
minimized.
-the coating has excellent corrosion resistance, so they'll last
almost forever.
These are available from various sources. Race-Tech
in Canada has 'em. |

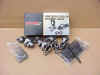
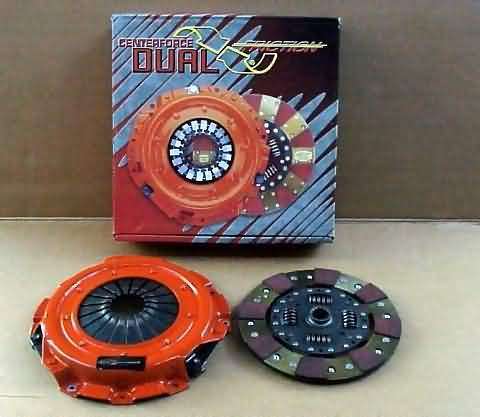
| A
Centerforce Dual Friction clutch/pressure plate kit will be
installed. These have been reported to work very well in the
Fiero powertrain. Although not shown, I'm also installing an
aluminium flywheel. These are a perfect match, and should help
"get the power to the ground". Centerforce
website |
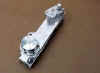 |
The
stock fuel rail is shown with Holley Adjustable Fuel Pressure
Regulator (AFPR) (located at the lower end in picture). I
chose a Holley unit, because it has a large knurled wheel on top
to adjust fuel pressure settings. Adjustment is easy
without need of a wrench, although long thin fingers do help ;-)
Holley
AFPR |
 |
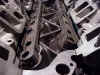
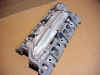
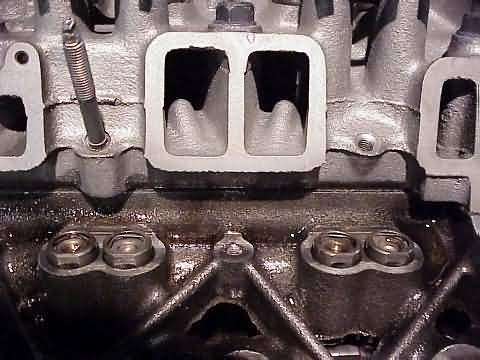
Here's
a closeup of the valley. You can see the roller lifters in
their bores. The lifter bores are round, as is the lifter, but the
upper third of the lifter has been machined flat on two sides.
These are to prevent rotation of the lifter once the lifter
anti-rotation retaining rails have been installed. |
 |
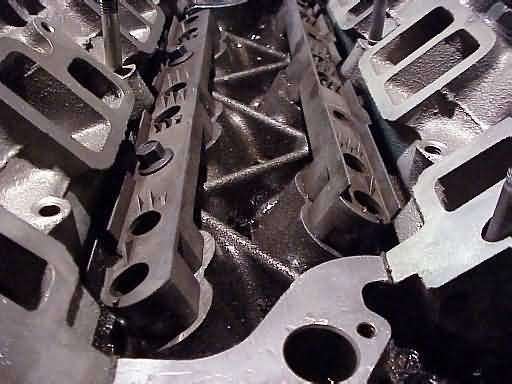
Looking
from the front of the block, you can see the plastic lifter
anti-rotation rails installed. A raised edge needs to be ground
off the inner side of the rails, as done on the left rail.
The regular rail is on the right for comparison. This is
required for clearance so that the Fiero lower intake manifold can
be installed. |
 |
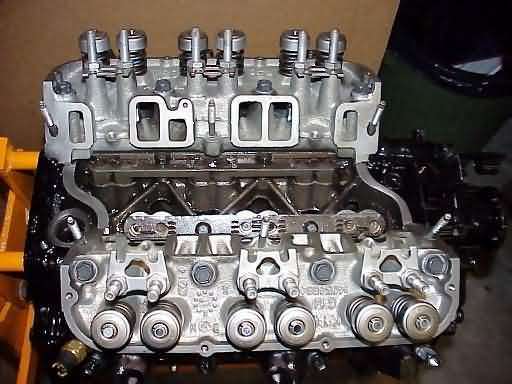
A
large photo shows the valley with both modified rails installed.
The valley has more reinforcement webbing than 2.8 blocks as is
readily apparent on closer inspection. |
 |
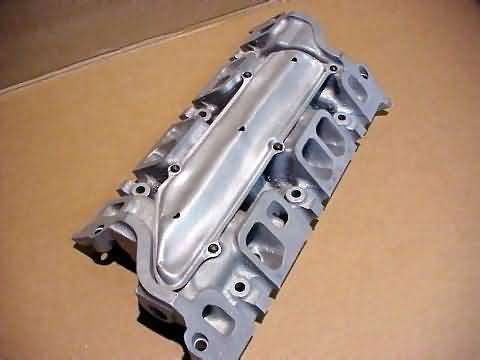
Another
modification is required to in order for the stock Fiero lower
intake to fit over the lifter anti-rotation rails. The oil
splash shield on the bottom of the intake must be either bent or
removed. I opted to bend them slightly, requiring several
test fits to get it right. With this spash shield in place,
hot oil splashing on the bottom of the intake is reduced. |
 |
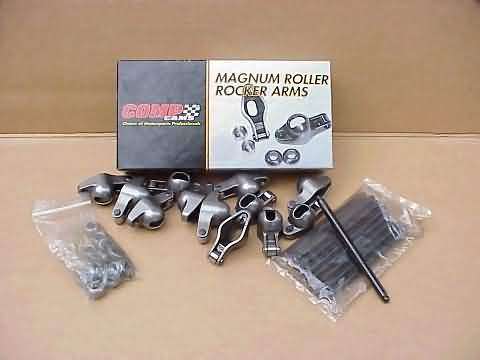
Because
the stock cam is the only roller cam available for this
engine, CompCams 1.6 to 1 ratio roller-tip rockers will be used to
increase valve lift and improve breathing. The Comp
Cams rockers will fit under the stock valve lifters without
any problems. Custom 5.85" long pushrods (stock
diameter)
were ordered from Smith Brother Manufacturing (541) 388-8188.
Cost is under US$100. |
 |
The
3400 engine has a strong, ribbed cast aluminium oil pan. No
pan gasket is used, as RTV sealant is applied during installation
to provide a leakproof seal. In addition to bolts attaching
it the block, six bolts go through the side of the oil pan into
the main bearing caps. A stock Fiero or 3.4L Camaro pan will not
fit!! The stock 2.8L harmonic balancer is reused and new
under-drive pulley and water pump is also installed. |
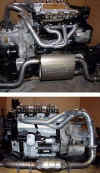 |
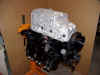
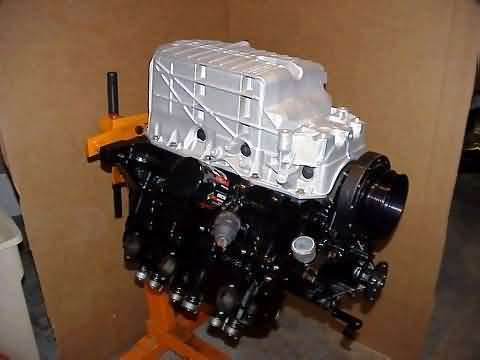
The
engine is now installed on the cradle. More accessories had been
installed, such as the oil filter, sensors, alternator and
starter. The FOCOA headers are clearly visible. The BORLA cat-back
exhaust system can also be seen here.
|
 |
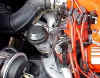
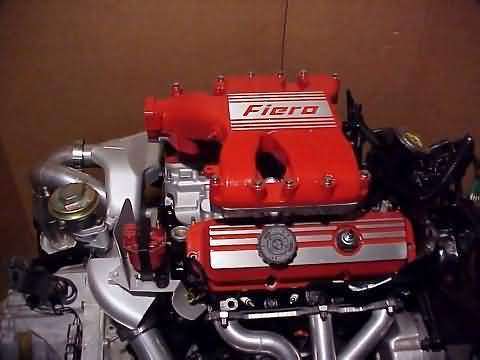
Here,
the plenum and valve covers are test fitted. The heat
shielding around the Y-pipe has been trimmed to fit the new one
that came with the headers. The EGR valve and Holley coil are
installed in their proper locations. Also visible, are the
Torque Master spark plugs, which look like any other at this end. |
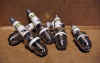 |
Torque
Master™
plugs have a radial
ground/center electrode design. These came highly
recommended from another Fiero owner with a high performance 3.4L
engine. The tip design exposes the spark more directly in the
combustion chamber for more power. Their alloy construction
means they should last the life of the engine. |
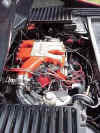 |
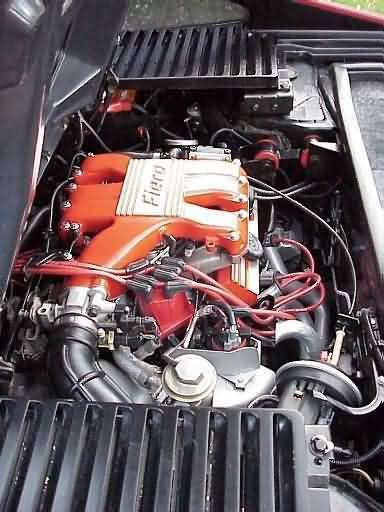
Engine
looks right at home in the Fiero's engine bay. Fiero owners
would spot the headers as being non-stock. Everything else
looks pretty much as it did from the showroom floor.
Some people who've never seen a
stock Fiero setup assume everything is "dress-up", while
others believe everything is stock. I kinda have both of
them fooled. |
 |
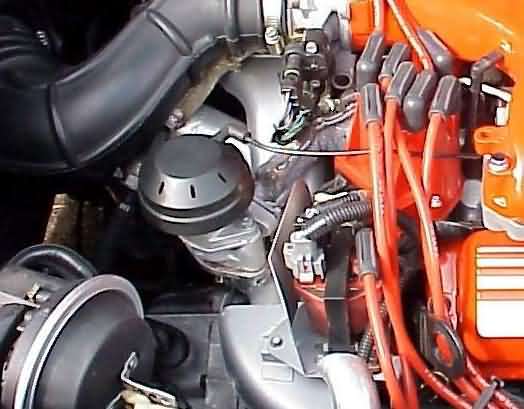
Here's
a cheap dress-up item I came across some time after
I took these pictures of the new engine. This is a GM EGR
valve cover. It is now a discontinued item, but you'll find them
in the wrecking yards on 80's Oldsmobile Ciera's with a fuel
injected V6. They just snap on/off. They're very handy
to cover up an old rusty EGR valve, or to keep a new EGR valve
looking... well new!!! |


